A few weeks back I posted some stuff about hacking up an Asus TPM daughter card to hook it up to a PCEngines APU system. That was the first I’ve soldered in pretty much forever. It was ugly. Seriously ugly. But it worked. Still, we can do better.
Desoldering
In my first pass at this I left the pins in the board after cutting off the connector. To hook up the new connector I just soldered the wires directly to the existing pins. The right way to do this is to desolder the existing pins, pull them out, and run the new wires into the holes left by the old pins.
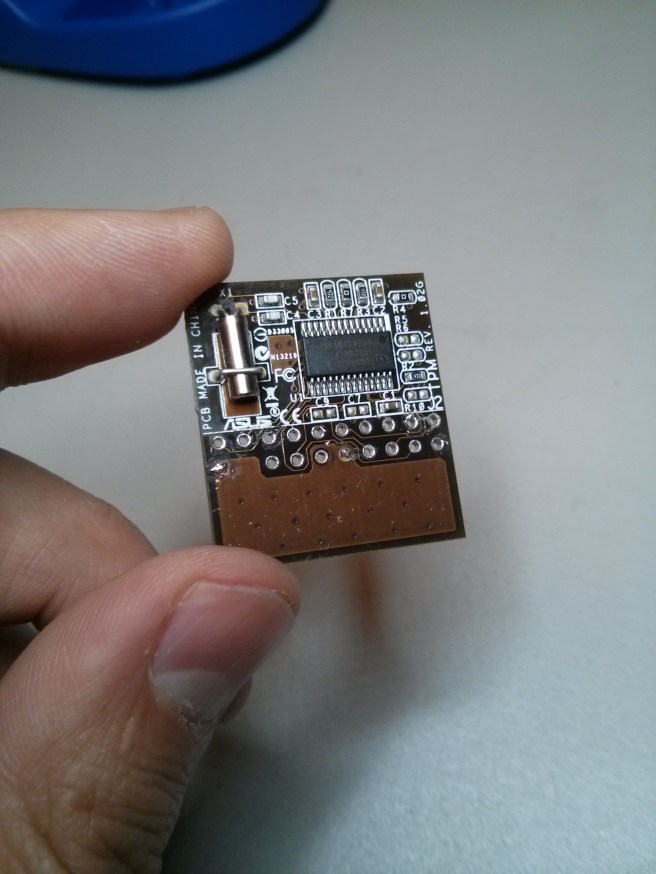
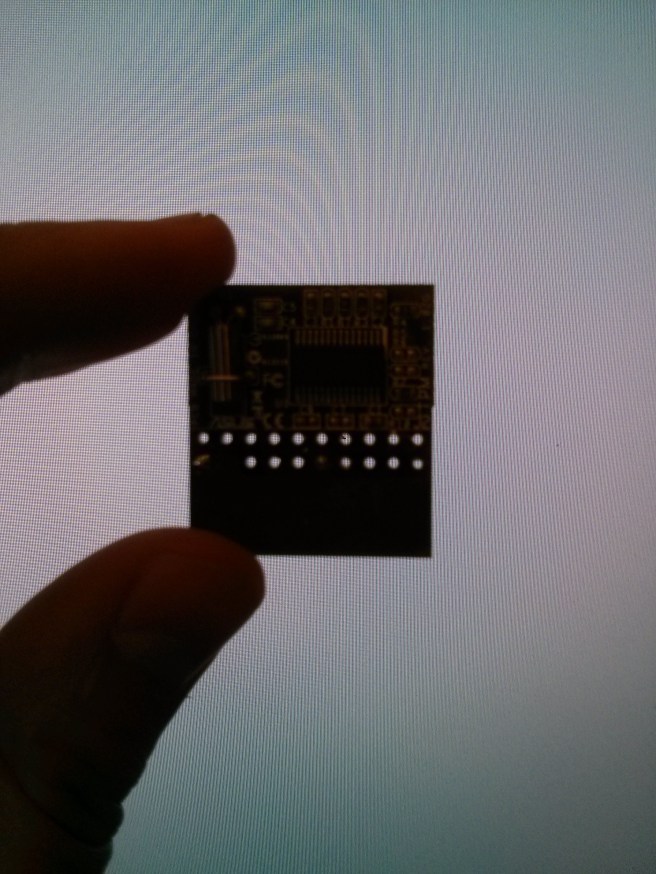
After discovering what a solder pump is this isn’t the impossible task I thought it was. There were two pins that wouldn’t budge though. These two were hooked up to the ground plate on the card so when I applied heat the whole card absorbed it. Since I didn’t need these pins I just left them alone. This is what the card looks like with the pins desoldered:
New Wiring
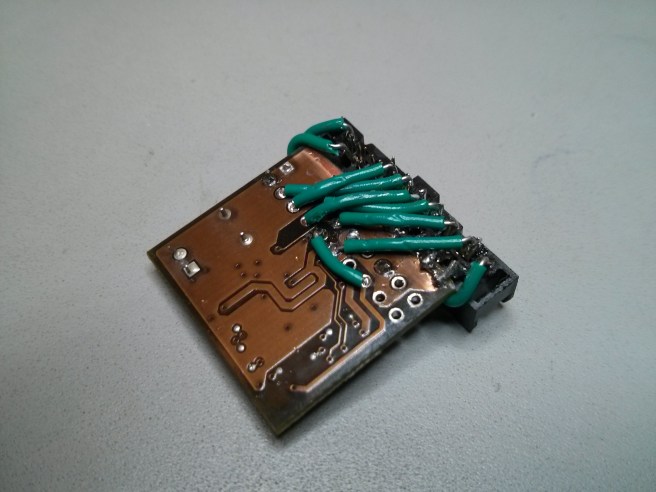
Now we just add some new wires following the mapping from the last post. Business as usual. I did up ground in the same way running it directly to the plate on the daughter card. The sanding job I did this time was much better since I used real sand paper. Actually I picked up a few of those nail files at the grocery store and they worked out great.
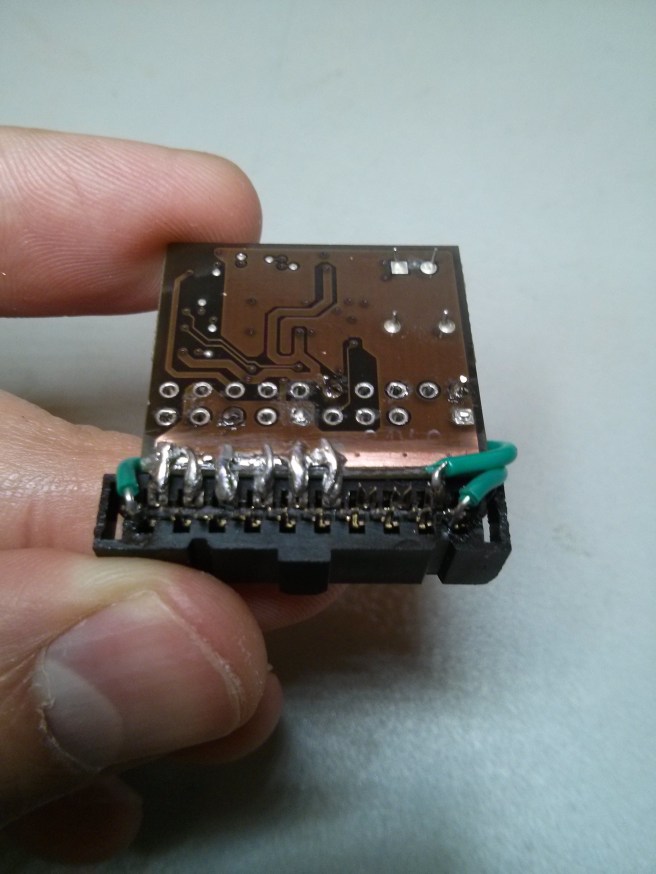
Last time I ran all the wires over the top and they piled up something awful. This time I ran the problematic ones under the card to keep things clean. I’m pretty happy with the end result.